Beverage storage looks simple on paper: keep it cold, keep it organized, and keep it moving.
But anyone who runs a busy bar, brewery, restaurant, or event venue knows the truth—beverage walk-ins are some of the hardest-working boxes in the building.
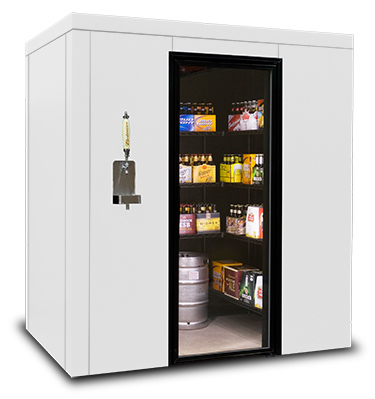
They get opened constantly. They get stocked in a hurry. They get overloaded during rush periods. And they often hold a mix of formats that don’t behave the same way:
- kegs
- cases
- bottles and cans
- wine
- mixers and non-alcoholic beverages
- cold brew, NA programs, or seasonal products
That’s why the best beverage walk-ins aren’t just “a walk-in cooler.” They’re designed around workflow, traffic, loading style, and access speed.
In this article, we’ll break down what makes a great beer and beverage walk-in—and what to consider when you’re specifying one for your operation.
Step 1: Start With How You Sell and Serve Beverages
Before you choose dimensions, think about the work your walk-in is doing every day.
Ask these questions:
- Is this primarily for keg storage, case storage, or both?
- Do you restock daily, weekly, or multiple times per week?
- How many people access the walk-in during rush periods?
- Are you pulling product for bar service, retail sales, or event volume?
- Will you store overflow inventory for seasonal demand?
A beverage walk-in should be sized for peak volume and traffic, not the average day.
Step 2: Keg Storage vs. Case Storage Require Different Layouts
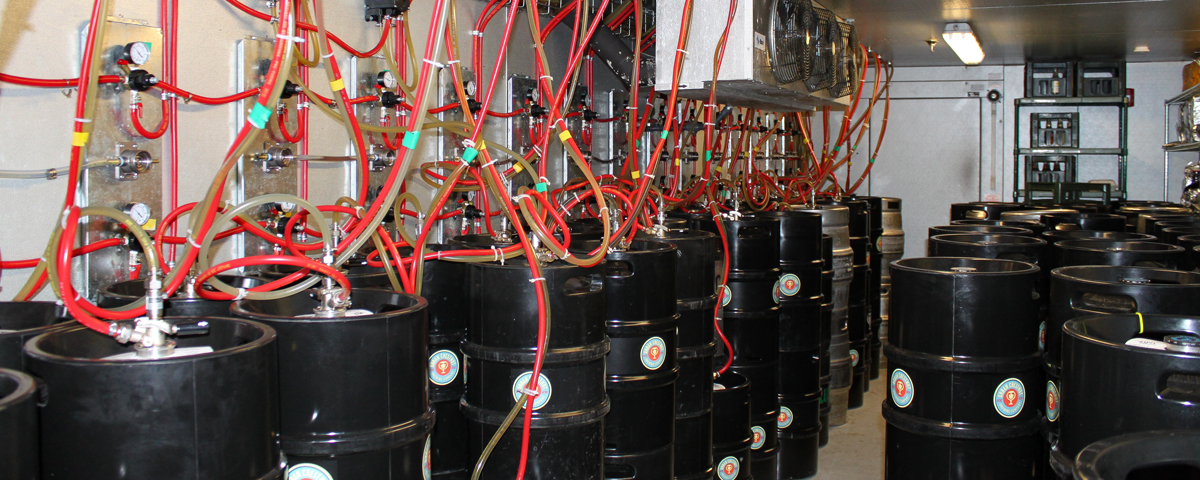
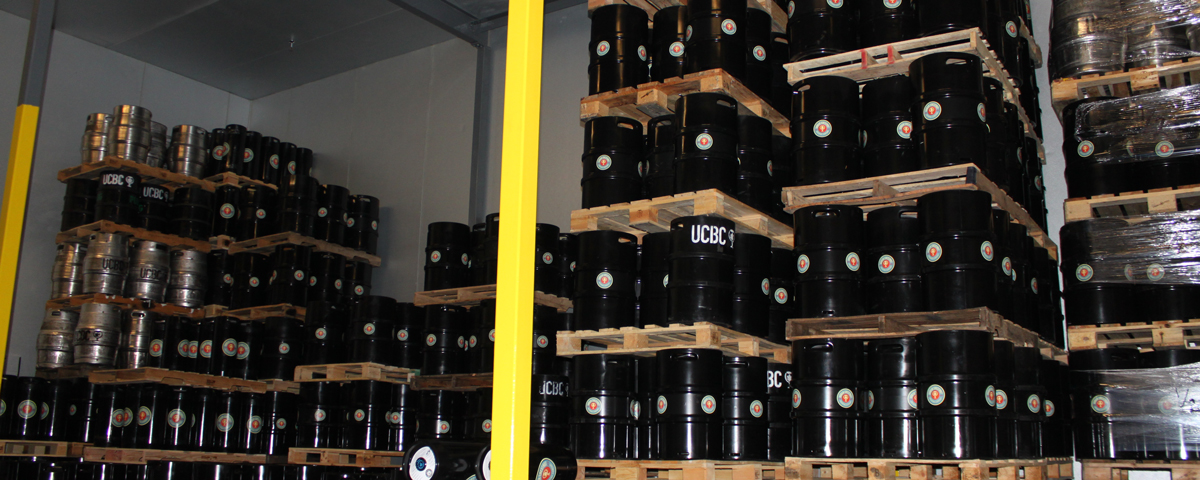
Keg programs need space and turning room
Kegs take up floor space and often require movement by cart or hand truck. If aisles are too tight, restocking becomes slow and frustrating—and the door stays open longer.
Keg-friendly design priorities:
- aisle width for movement
- stable keg stacking/placement strategy
- quick access to high-turn kegs
- space for rotation (FIFO)
- open area near the door for deliveries
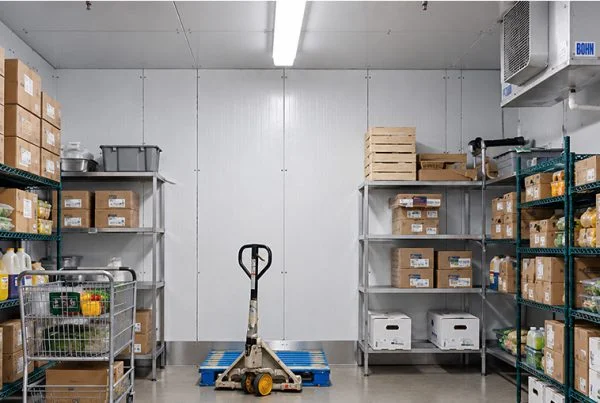
Case programs need shelving and access speed
Cases are easier to store vertically and can be organized into zones. But case stacking can quickly block airflow and create clutter if shelving isn’t planned.
Case-friendly design priorities:
- sturdy shelving layout
- easy zone labeling (domestic, craft, NA, mixers, etc.)
- clearance for airflow between stacks
- quick picking access during rush periods
Best practice for mixed programs:
If you store both kegs and cases, define each area intentionally instead of letting cases “creep” into keg zones over time.
A mixed-use walk-in without zones usually turns into a congestion problem.
Step 3: Plan the Walk-In Around Traffic
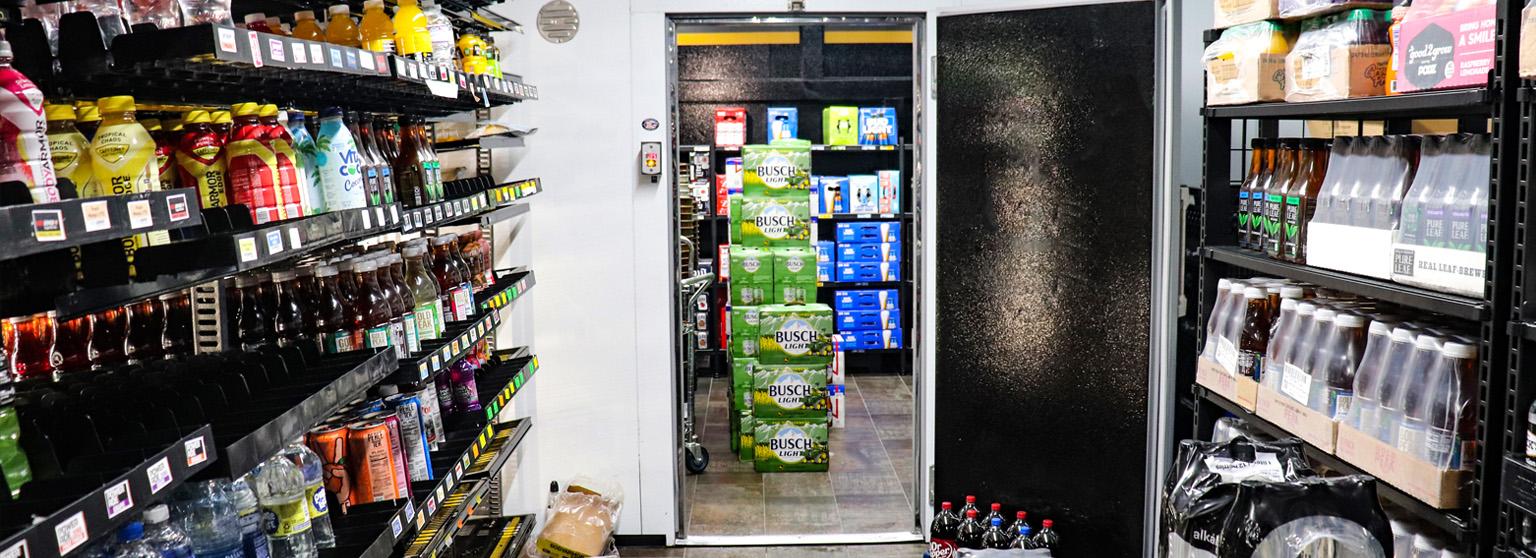
Beverage walk-ins often have higher door activity than typical cold storage.
That constant door opening adds:
- heat
- humidity
- recovery time stress
- temperature swings
- extra load on the system
If your walk-in is high-traffic, plan for it:
✅ keep high-turn beverages near the entrance
✅ avoid long search time deep in the box
✅ keep a clear delivery landing zone
✅ consider strip curtains for busy service operations
✅ maintain door seals and closers so the door shuts every time
The best beverage walk-ins are designed for fast “in and out” access—especially during service.
Step 4: Avoid the #1 Beverage Walk-In Mistake: Blocking Airflow
Beverage walk-ins often get packed tight. The goal becomes “fit as much as possible,” and airflow gets sacrificed.
But airflow is what keeps temperatures consistent and recovery times fast.
Airflow mistakes that hurt beverage walk-in performance:
- stacking product directly in front of evaporator fans
- packing cases tight against walls with no gap
- blocking return airflow paths
- stacking too high and creating warm pockets
What to do instead:
✅ leave clearance around the evaporator discharge
✅ keep a few inches between product and walls
✅ avoid tight wall-to-wall stacking
✅ use shelving that supports airflow (not solid blocked walls of product)
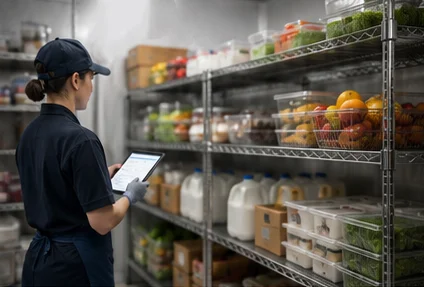
Step 5: Organize for Speed (This Saves Labor Every Shift)
Beverage programs live and die by speed. If staff has to search for product, the door stays open longer and workflow slows down.
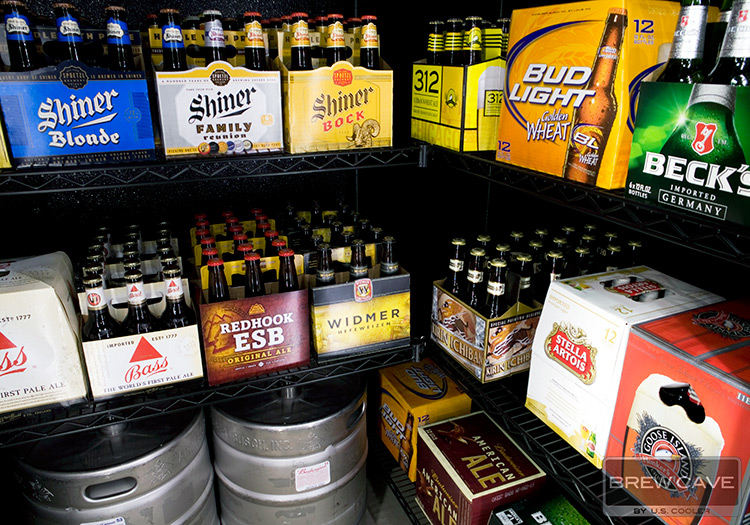
A great beverage walk-in layout includes:
- clear zones by beverage type
- high-turn items at eye level near the front
- labeled shelving
- a dedicated “overflow” space for deliveries
- a “grab zone” for rush-period restock
Small layout choices can save minutes every shift—and those minutes add up over a year.
Step 6: Think About Future Expansion and Seasonal Peaks
Beverage programs change frequently:
- seasonal beers
- new SKUs
- NA programs growing
- event volume and catering
- holiday demand spikes
If your walk-in has no breathing room, it will become overloaded during peak periods—and performance will suffer.
Sizing for growth and peaks helps prevent:
- cluttered storage
- blocked airflow
- slow recovery after deliveries
- constant rearranging
Final Takeaway: A Beverage Walk-In Is a Workflow Tool, Not Just Cold Storage
The best beverage walk-ins aren’t defined by square footage alone—they’re defined by how they support your operation.
When you spec a beverage walk-in the right way, you get:
✅ faster picking and stocking
✅ better airflow and temperature consistency
✅ easier organization
✅ better recovery after deliveries
✅ less stress on the refrigeration system
✅ a walk-in that supports growth and seasonal demand
If you’re planning a new beverage program or upgrading your current walk-in, the key is designing around the way your team actually uses the space—every day.