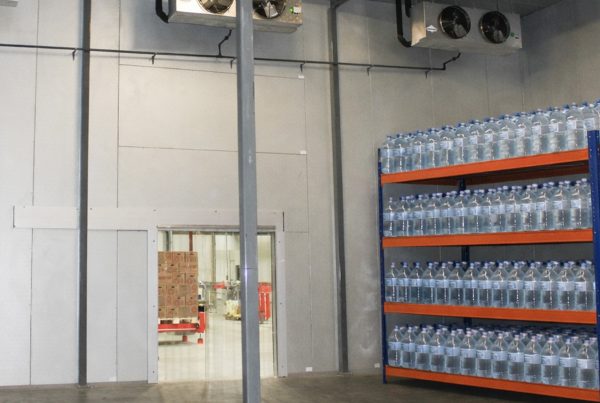
A walk-in cooler can be the backbone of your daily operation—or the bottleneck that slows everything down.
When a walk-in is disorganized, the impact shows up everywhere:
- slower picking and restocking
- more door-open time
- warm spots in the box
- blocked airflow that forces longer run times
- employee frustration and product risk
The good news is: you don’t need a remodel to improve walk-in performance.
With a few layout principles, you can make your walk-in cooler easier to use, easier to stock, and more consistent in temperature.

Why Walk-In Organization Impacts Temperature
Most people think the refrigeration system controls the temperature—and it does.
But your storage layout controls how well cold air moves.
A walk-in can only cool effectively if cold air can:
- circulate across stored product
- return back toward the evaporator
- move through shelving and aisles
When inventory is stacked wall-to-wall or placed in the wrong locations, you create dead zones—areas that don’t cool evenly.
And the solution usually isn’t “turn it colder.” It’s improving the layout.
The Golden Rule: Air Needs Space
If you remember one thing, let it be this:
Cold air can’t cool what it can’t reach.
Walk-in coolers perform best when there’s breathing room:
- between product stacks
- between shelving rows
- between product and walls
- around the evaporator airflow path

The Best Walk-In Layout Is Built Around Workflow
Step 1: Put High-Turn Items Near the Front
The items you use most often should be closest to the door.
This reduces:
- time spent searching
- door-open exposure
- traffic moving deep into the cooler
It also helps keep the walk-in organized during busy hours.
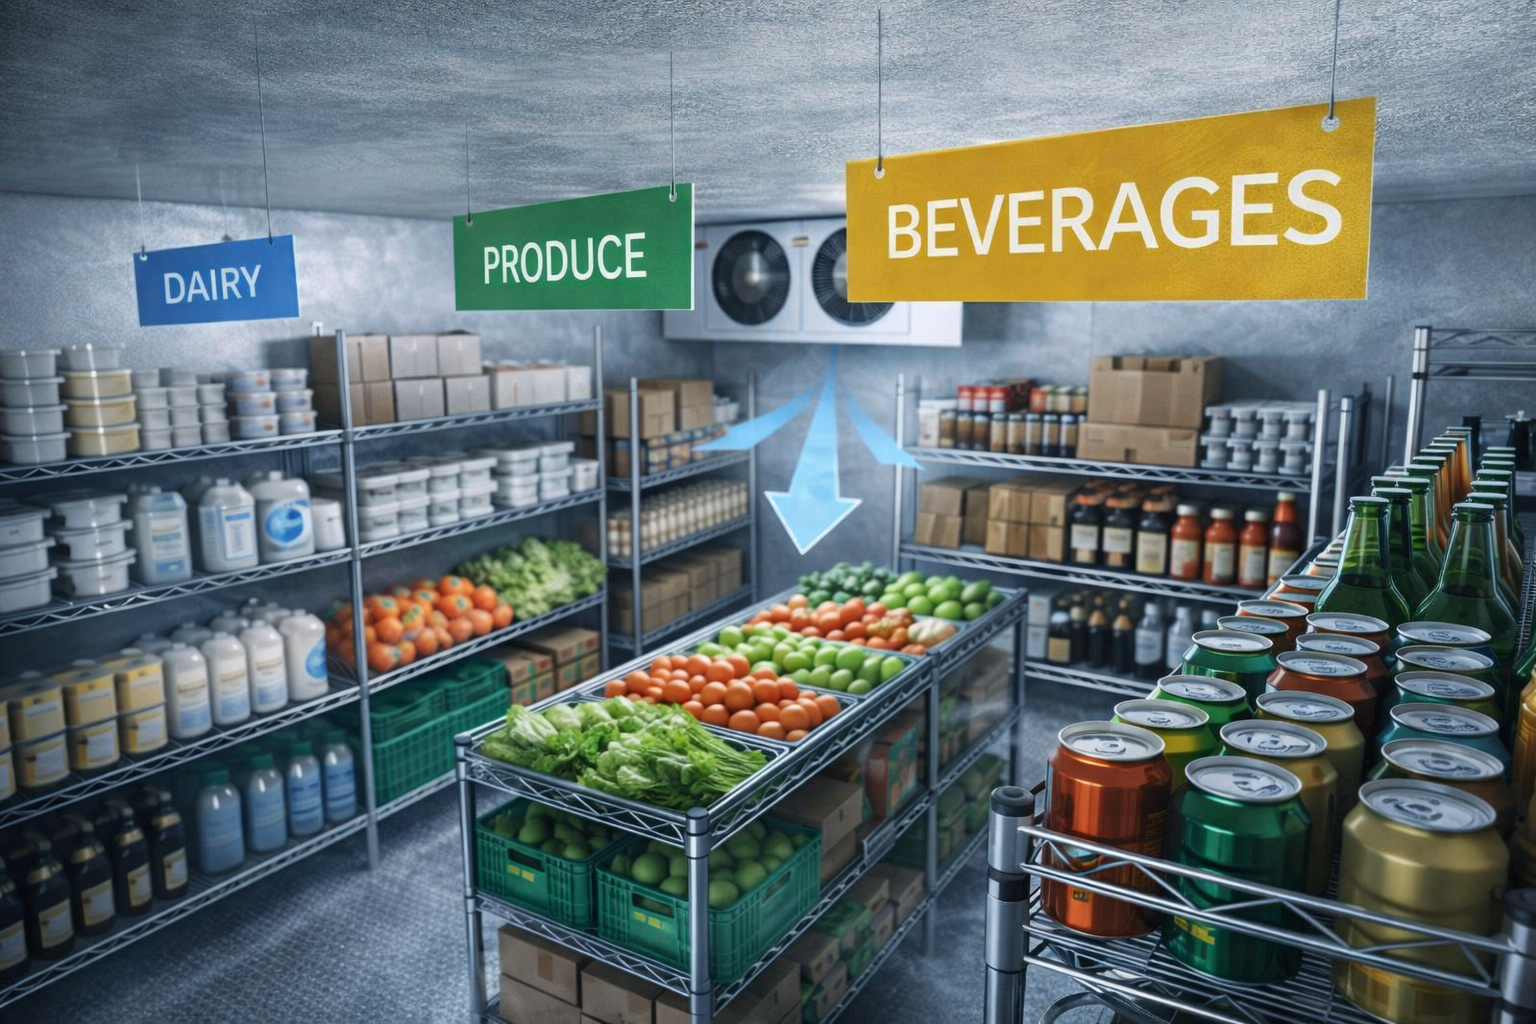
Step 2: Create Clear Zones
Instead of “everything wherever it fits,” create zones.
Examples:
- dairy
- produce
- proteins
- beverages
- prep items
- sauces/condiments
Zones make it easier to stock and pick quickly—and they help prevent overloading.
Step 3: Keep Product Off the Floor
Floor storage seems efficient, but it creates problems:
- blocks airflow at ground level
- increases moisture and contamination risk
- makes cleaning harder
- encourages clutter
Shelving improves airflow and keeps inventory accessible.
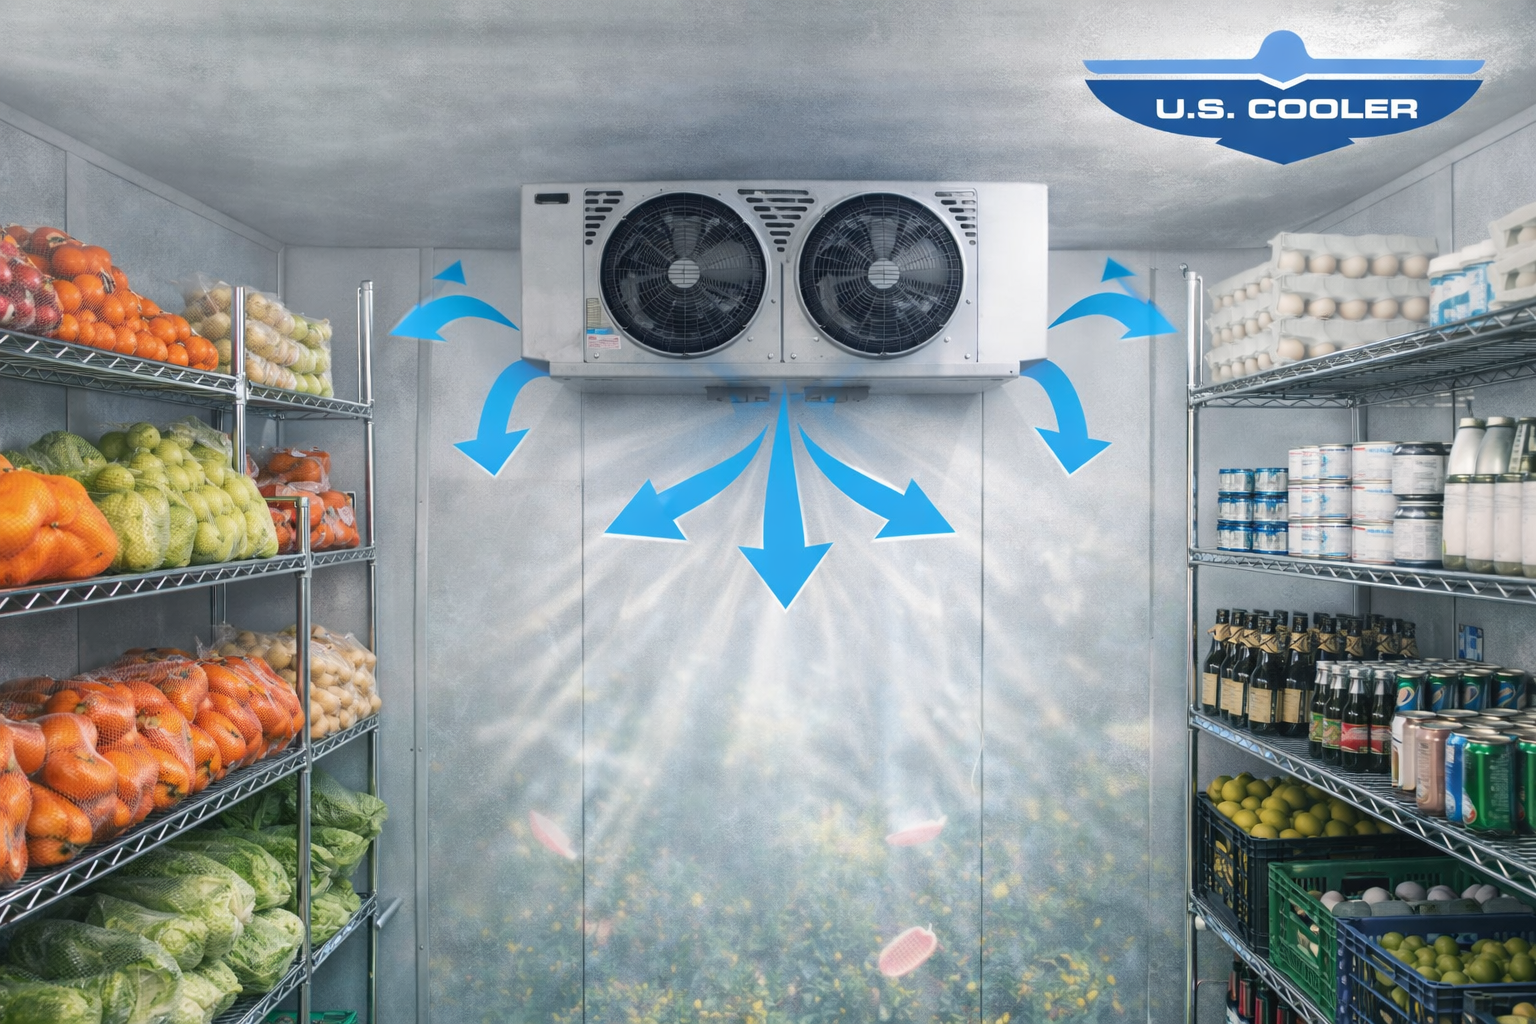
Step 4: Maintain Airflow Clearance Near the Evaporator
The evaporator needs open airflow to distribute cold air properly.
Avoid storing product directly in the path of fan discharge.
If cold air can’t circulate, the walk-in will develop warm spots—and the system runs longer than necessary.
Step 5: Use “First In, First Out” (FIFO) Lines
A simple FIFO system makes a big difference in:
- rotation
- reducing waste
- keeping inventory organized
You don’t need fancy software—just train staff to load new product behind older product when possible.


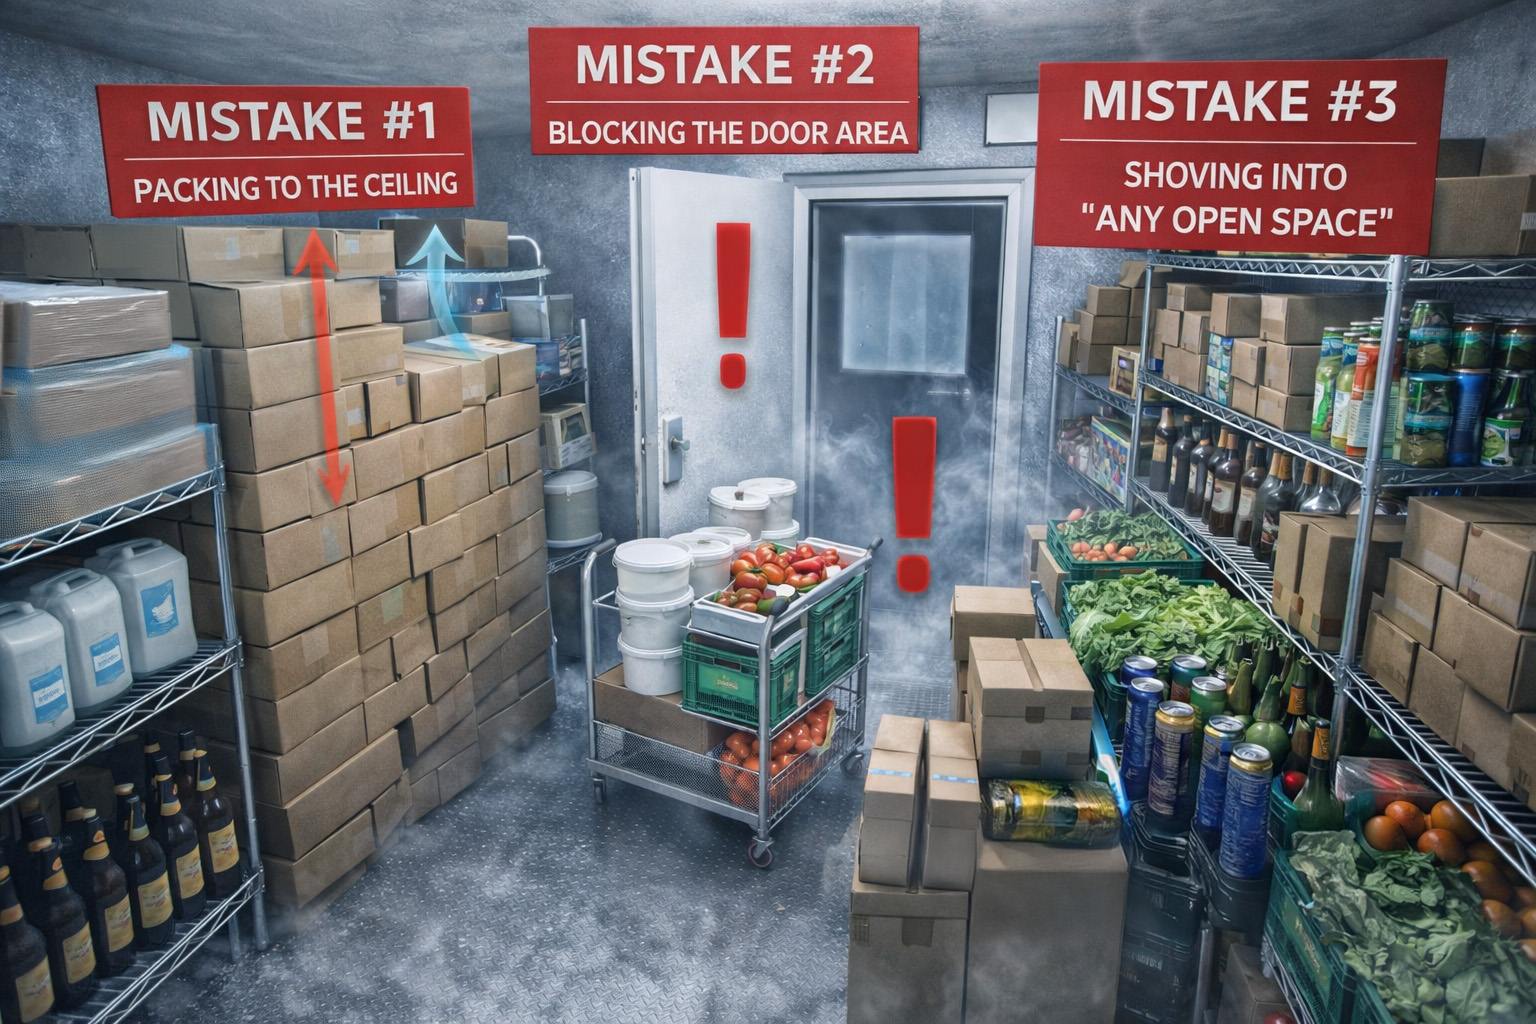
Common Walk-In Mistakes That Cause Problems
Mistake #1: Packing to the Ceiling
Overstacking blocks airflow and creates inconsistent temperature zones.
Mistake #2: Blocking the Door Area
Cluttering the entrance makes the door stay open longer and creates chaos during rush periods.
Mistake #3: Shoving Product into “Any Open Space”
This creates disorganization, slower picking, and uneven cooling.
A Simple Walk-In Reset That Works
If your walk-in has become cluttered, try this reset:
- Pull everything forward and group by category
- Clean shelves and floor quickly
- Assign zones and labels
- Put high-turn items near front
- Leave airflow gaps and keep evaporator area clear
Even small changes can improve daily speed and temperature stability.
Final Takeaway: Organization Helps Performance
A well-organized walk-in cooler doesn’t just look better—it runs better.
Better layout leads to:
✅ faster picking
✅ shorter door-open time
✅ improved airflow
✅ more consistent temperatures
✅ less strain on the refrigeration system
A walk-in is an investment. A smart layout helps you get the most out of it every day.