
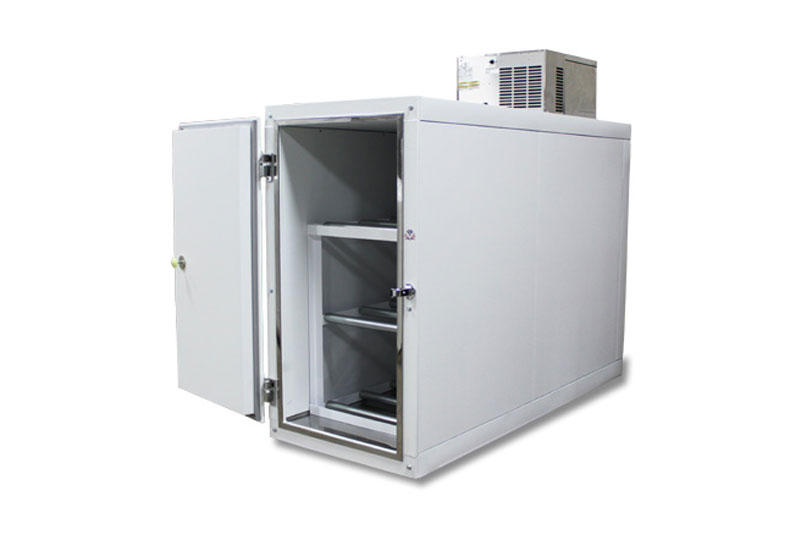
Why U.S. Cooler Walk-Ins?

Fast Shipping

Unparalleled Customer Support

Quality Products
Applications
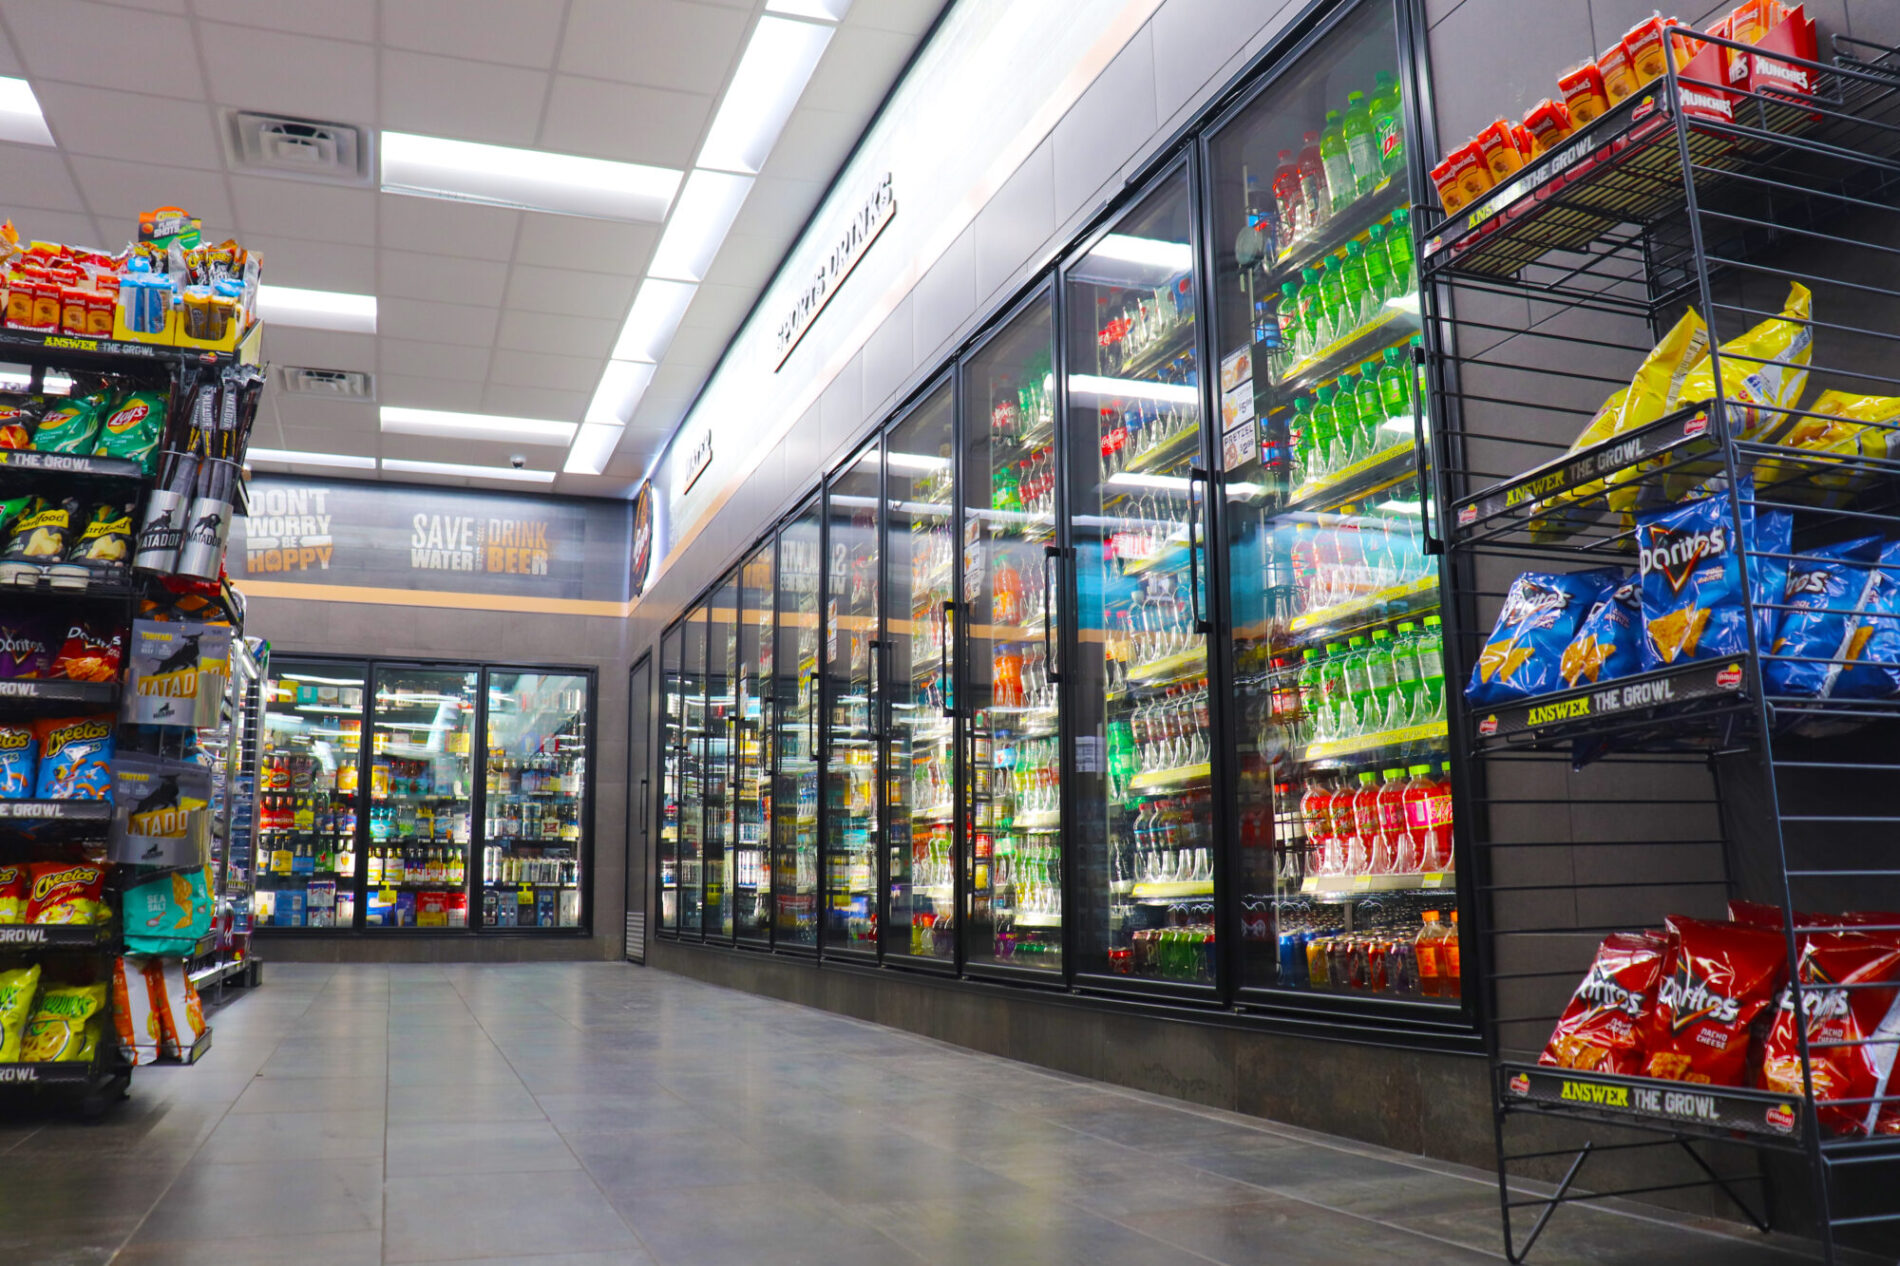
Convenience Stores
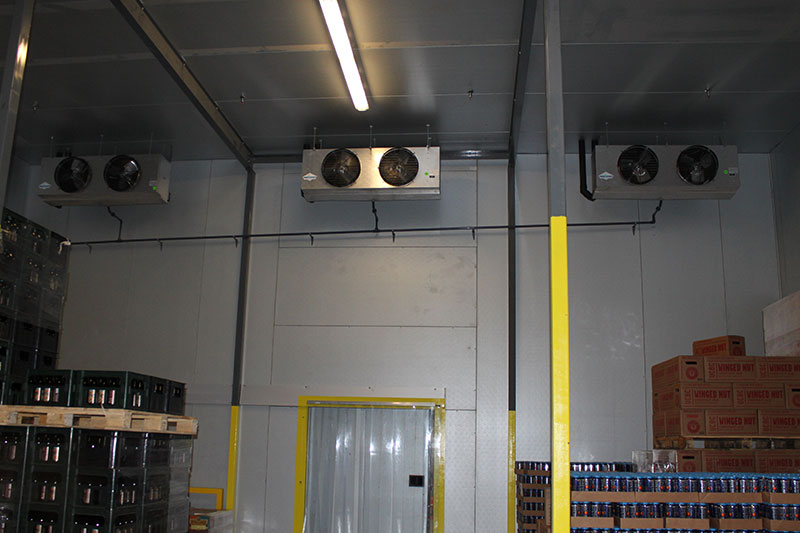
Warehouses

Restaurant & Bars
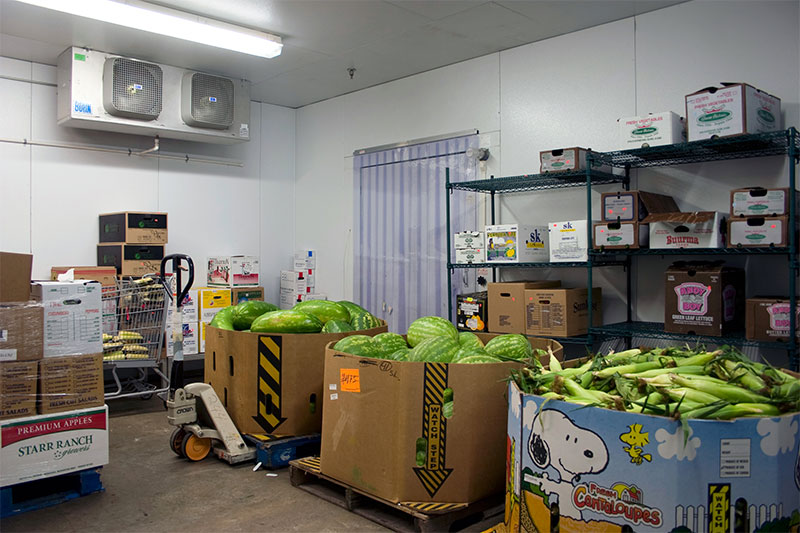
Grocery Stores
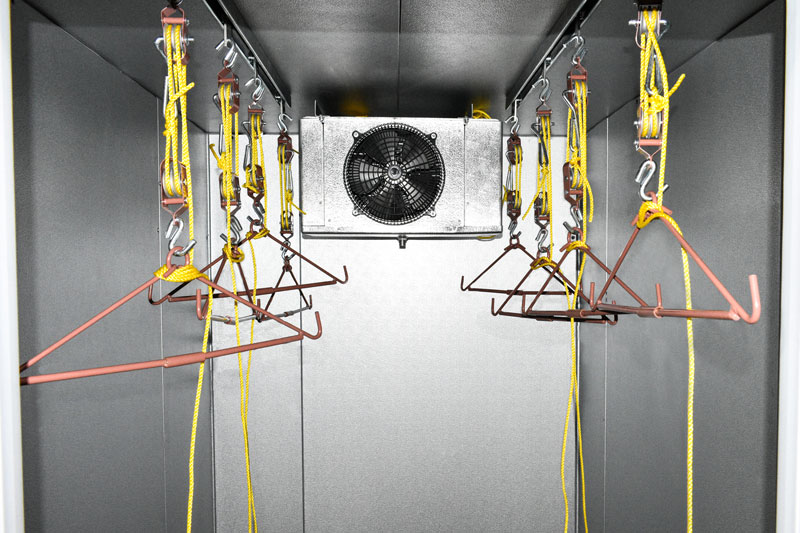
Game Locker

Floral

Residential
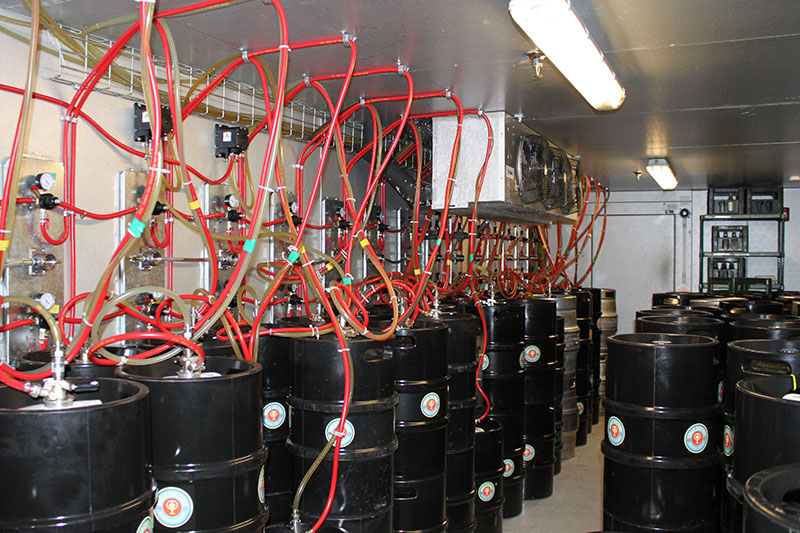
Breweries
Mortuary
Live Webcam
All U.S. Cooler® walk-ins are test assembled in our plant prior to shipment. This ensures a problem-free on-site installation for your contractor. Above is a live webcam of our setup department. Press the play icon to start the live feed.
Foam
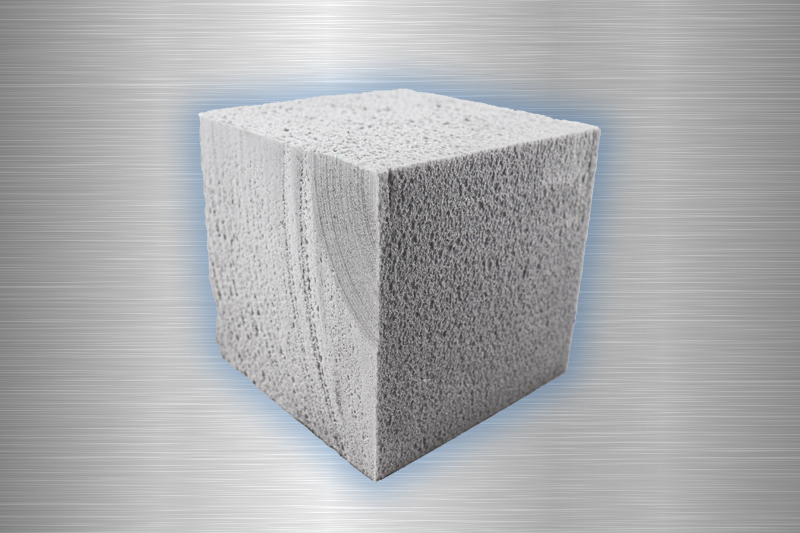
Extruded
Extruded foam insulation has been used successfully for years in insulating areas of high moisture exposure with high R-value requirements, including low temp warehouses, underground concrete insulation, and house sheathing.

Urethane
U.S. Cooler’s® foamed-in-place polyurethane has a performance rating of R-32 for freezers. This rating not only meets the Energy Independence and Security Act, but also exceeds the R-25 requirement for coolers.
Shop

Fast Cooler
We provide you with the tools you need to purchase a walk-in cooler or freezer quickly and cost-effectively. With the click of a few buttons, find dealers near you, shop for the best prices and buy online.
Fast Cooler
ReFridge
ReFridge offers replacement parts and accessories for your walk-in cooler and freezer. Door handles, hinges, closers, gaskets, shelving, and much more!
ReFridge